Pages

Saturday, August 24, 2013

Burlap Bonanza

My initial thought when I see personalized crafts for sale is always, "I wonder if I can do that myself." It normally takes me an inordinate amount of time to complete the crafts, but I almost always will give it a go.

My mom's birthday was last month and a few days before her birthday she sent me a picture of a framed monogram done on burlap with the caption, "I love this!!!!!" The first thing I noticed was that she actually spelled all the words correctly. My mother composing a text almost always gives way to misspelled words. I fancy myself bilingual solely because I can interpret texts from my mom. I love her to pieces and giggle myself silly when she sends them sometimes, but I speak the truth.

Anyways, I looked at the picture she sent, researched printing on burlap, and decided I could give this little project an attempt. My cast of characters for this project included: burlap, spray adhesive, white computer paper, spray adhesive, scissors, a ruler, and a picture frame.
 
I used the ruler and scissors to measure an 8 1/2" x 11" piece of burlap. Then, I just plain ol' cut it out :)
 
 
Because you're adhering the burlap to the construction paper, it's important to get the burlap as close to 8 1/2" x 11" as possible.
 
Once you've got that done, spray your sheet of computer paper with the spray adhesive. Since it's not going to stay stuck to the paper, let the spray adhesive dry for about 3 minutes before attempting to adhere the burlap to it. While you're waiting, make up your monogram!
 
 
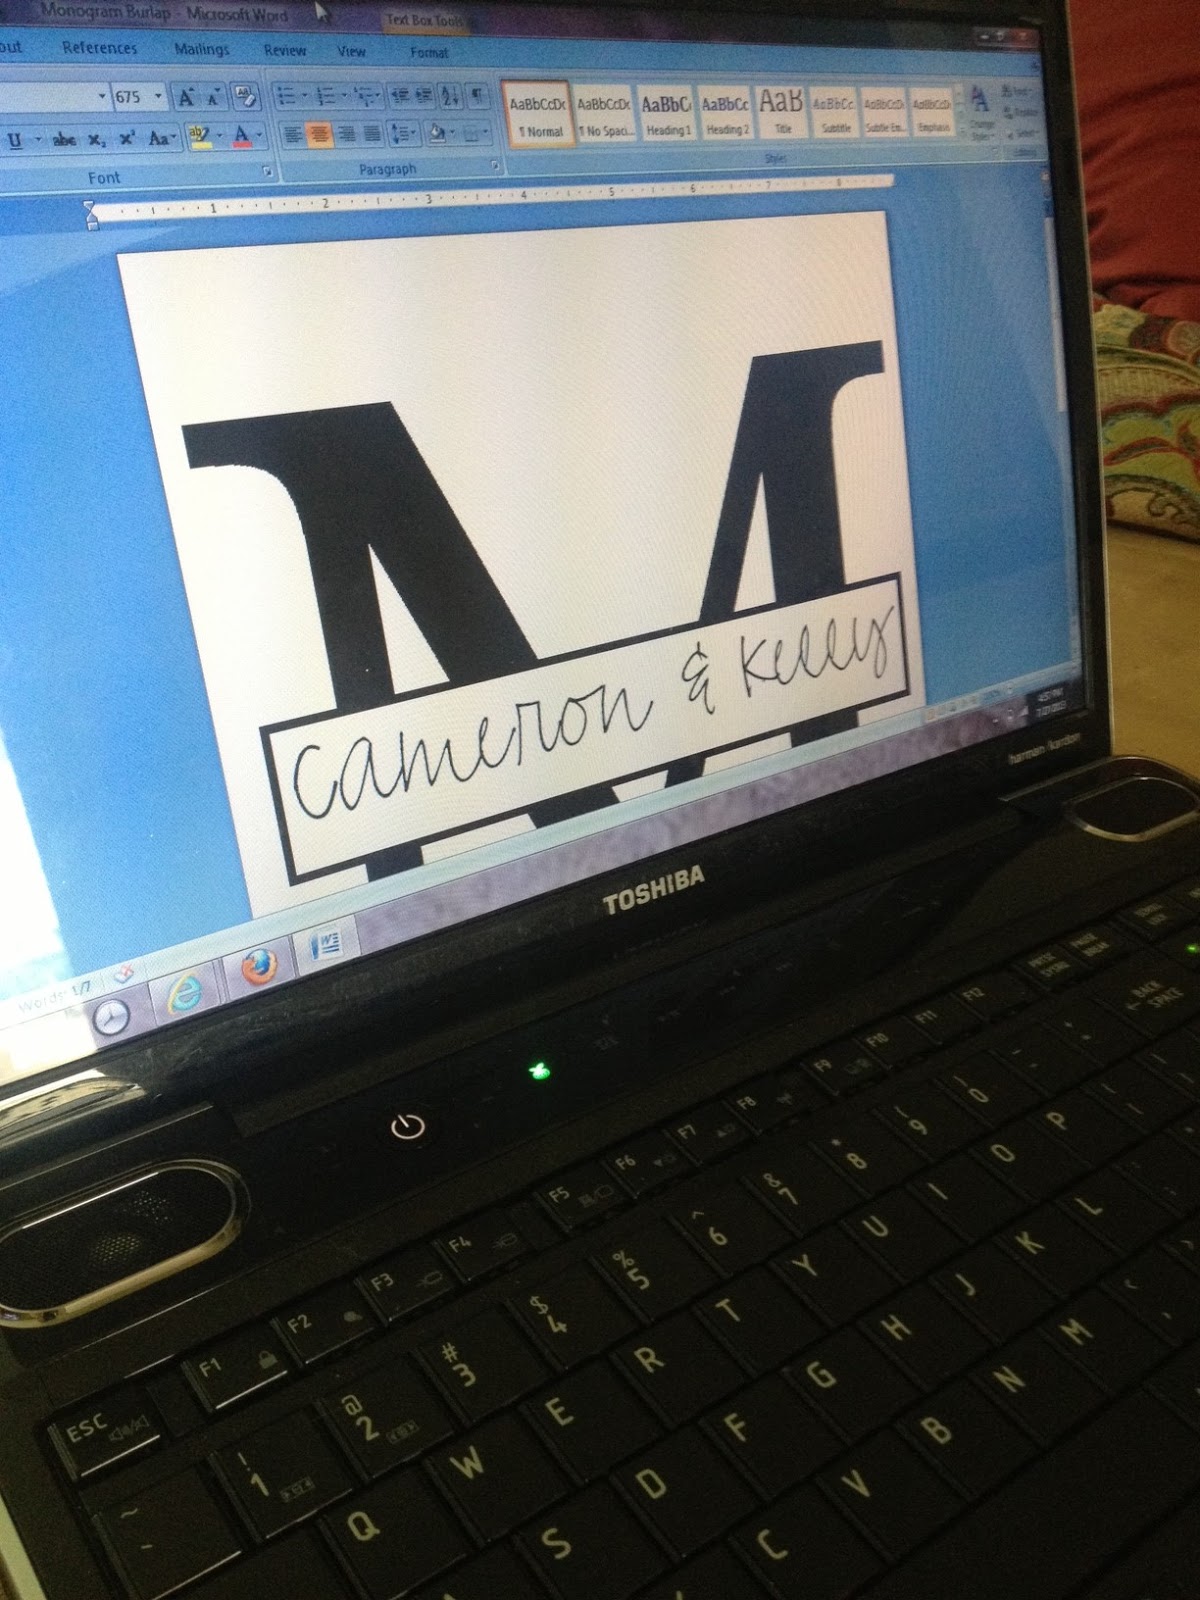
Again, the font addiction ran it's course and it took For.Ever. to choose what to use :)
 
Once it's done, attach the burlap to the paper that was sprayed. This will go right through your printer! Feed your burlap paper into the printer and send your snazzy document to the printer. Then, watch it work its magic.
 
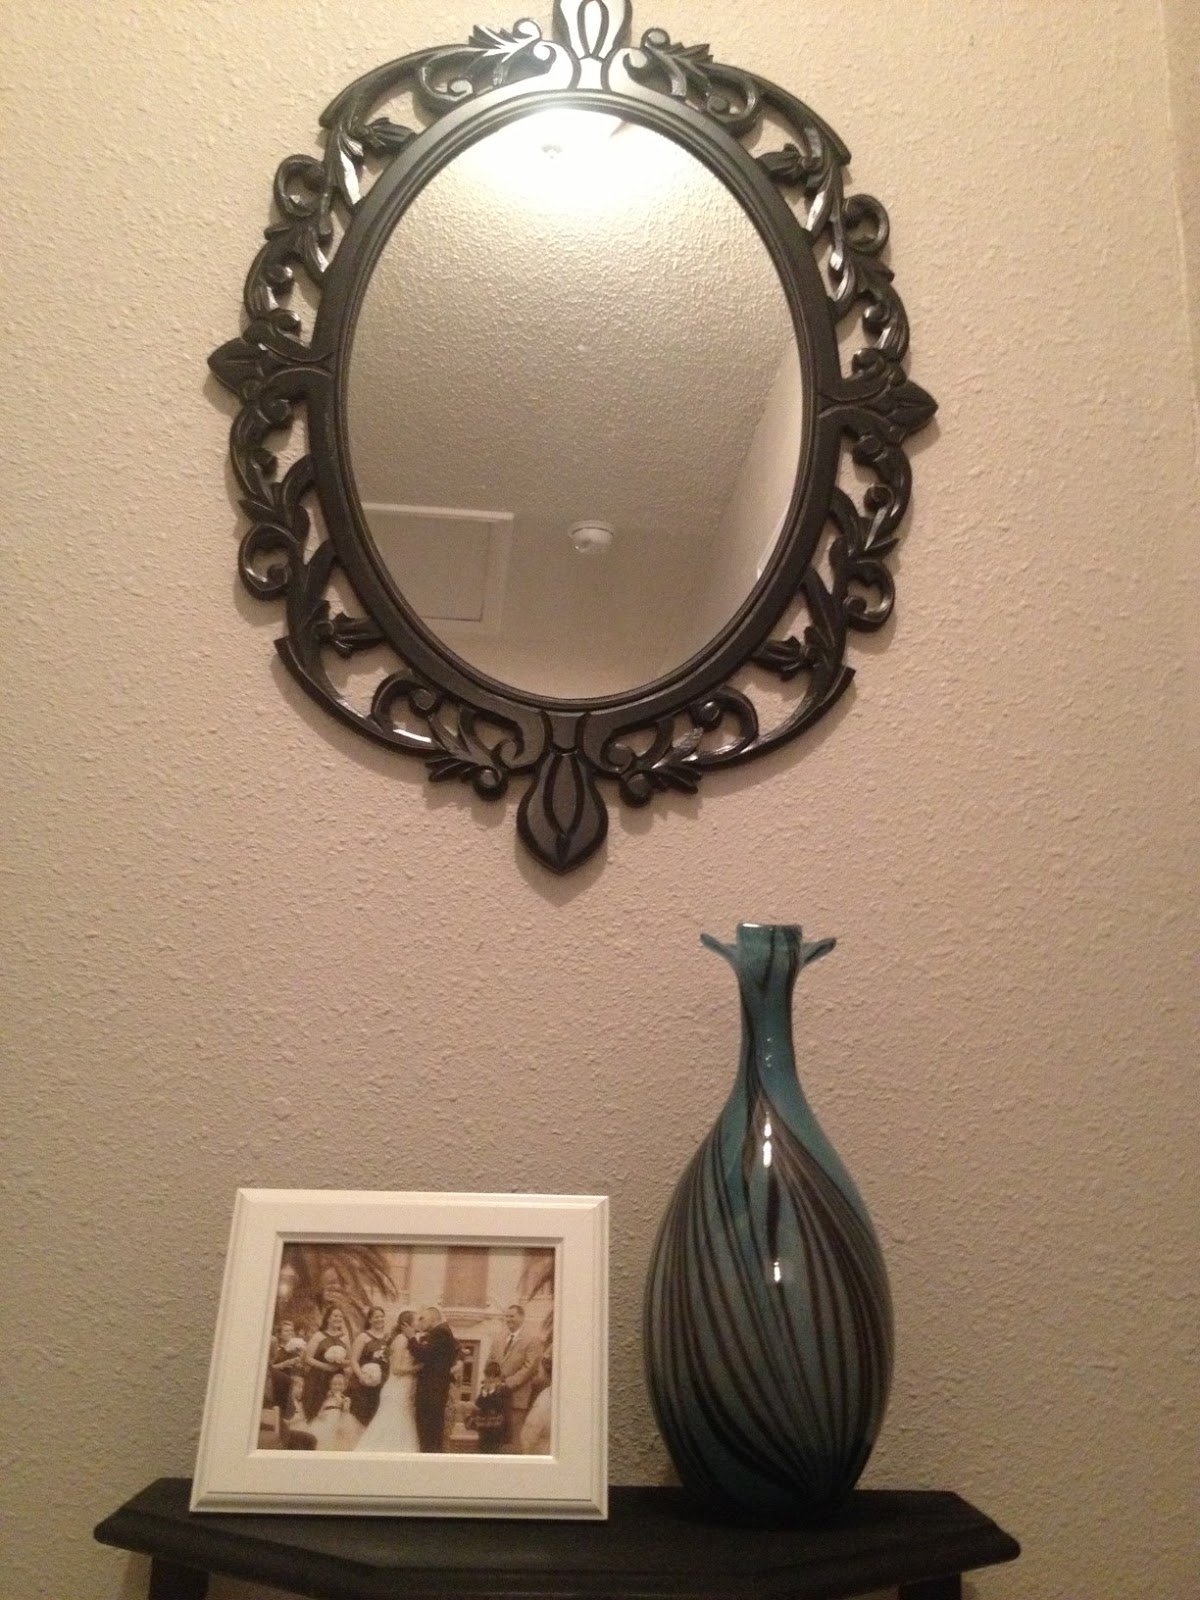
Once it's out, throw it in your frame and you, my friend, have a beautiful homemade gift!
 
 
My momma loved this little nugget. She raved and raved. And I felt like a million bucks because I made it myself :)
 
-L


Wednesday, August 21, 2013

One Man's Trash

Our wedding photographer took the most amazing pictures at our wedding. I have over 2,000 pictures capturing our day together and I love them all. But my favorite picture taken was actually captured by my dad's brother, David. It's one of those once-in-a-lifetime type pictures. It makes me smile, laugh, and even tear up a little bit. It's just the sweetest thing. Peeps, feast your eyes on my favorite picture...

 
I should probably tell you that before the ceremony, Gianna, my sweet love muffin of a cousin and flower girl, specifically told me she "wasn't going to watch any of the funny stuff." "Funny stuff" apparently translates to the whole "You may now kiss the bride" business. Her older brother, Roman (who I'm equally obsessed with), took a page out of her book and covered those eyes as tight as can be. Finally, let your eyes wander to sweet Cameron, Derek's cousin and a flower girl as well, who is completely fixated with the moment. You literally cannot make this stuff up. I had to have this picture in our house somewhere.
 
I must now switch gears a bit. I promise the picture makes a cameo later on. I asked D recently if he ever thought of me while he was at work. I thought the whole, "Out of sight, out of mind" thing may come in to play here and was honestly curious what he would say in response to this question. His reply-"On garbage day I do." Garbage day?! The two days a week large trucks overtake our neighborhood and get rid of our trash?! Not what I was expecting. Soon after though, he came home with this little beauty. Which, you guessed it, he saw on the side of the road in someone's garbage.
 
I love this little table! I immediately thought of the perfect place to set her up at the end of our hallway. But first, she needed a little love.
 
I hope it's not weird that I immediately assumed the table was a "she."
 
I started by wiping her down really well with an old towel. It did come from someone's trash, ya know.
 
Then, I got to sanding! We have this snazzy handheld-thing-a-muh-whoo-zit that I placed the sandpaper in. It worked really well for someone like myself who is not well-versed in the world of sanding.
 
 
Yikes. Pretty ugly after sanding.


Then, I spray painted her black. I did multiple coats to make sure it actually was not only covered, but also really black.
 
 
This was after one coat and you can kind of tell it was definitely NOT enough. I think I did three coats in total.
 
Then, I set this fab free little love at the end of the hallway with an awesome colorful vase and yes, you guessed it-my favorite wedding picture! It looks so great under the big mirror and I smile every time I walk by it. I'm so happy with how it turned out!


One man's trash, right? :)
 
-L

Tuesday, August 20, 2013

Home Away From Home

When I'm not decorating the house, cooking up something delish in the kitchen, and/or eating that somethin' delicious...I'm teaching!

This will be my fourth year teaching third grade and I've gotta say, I adore third grade. I love almost everything about it. I love the maturity level of the kiddos, I love their honesty, I love the fun activities I get to do on a daily basis. But most importantly, I love that I spend my day with a bunch of 8-9 year old love muffins who make me laugh seven hours a day. I can't imagine a more fulfilling or fun job.

One of the perks of teaching is grading papers long after you've gone home for the day decorating your classroom to your heart's content. I get so excited the first week of school before all the kiddos show up with smiling faces and fresh new backpacks. That first week is a blank canvas. My classroom hasn't been touched since I packed it up in June.

Each year, one thing in my room stays constant-bright, cheery colors. Now, I've never claimed to be a girl who can rock the primary colors. I just can't do it. Crayola-crayon red makes me twitch, green makes my shudder, yellow makes me groan, and blue is just blah. I need pizazz! My goal is always to make my classroom an inviting learning area for not only the kids, but also for me. I try to decorate in a way that makes me WANT to be there. So far, I've been pretty successful :)

I went with an owl theme of sorts this year. You'll see owls, chevron, and neon colors as I take you on a tours of my home away from home, my classroom! :)

Right outside my door is a very free form (work with me) tree branch and an owl for each student. I'm a little flighty and forgot to take a picture of that!
 
Snazzy backpack hooks as you walk in.
 
 
After the backpacks, we've got the student desks.
 
 
Each table has individual garbage cans and crates to store materials in :)
 
 
And my desk area. Ignore the mess. My life is always about 5 steps away from organized.
 
 
Classroom library. I have this amazing aunt who makes me the BEST pillows for my classroom. Kind of obsessed with those R-E-A-D pillows.
 
Next to the library, we have the gathering area...or where we all sit to do most of our learning. Don't you love my $10 neon green patio chair?! My rocking chair was a casualty of last school year and I wasn't about to spend $100 on a new one right now. This one is working perfectly!
 
 
The front of classroom has this snazzy chevron rug ($20 at Walmart, what what!) and the SMART Board.
 
And also the whiteboard and the classroom schedule.
 
We follow a "levels of conversation" plan at school. I had to cutesy up the plan :)
 
 
The back of the classroom boasts the word wall (Wise Words... get it?!) and the computer table. The Word Wall is a little sad at this point in the year.
 
As well as my group table (where I work with my sweet third graders in smaller groups)
 
 
And the behavior chart! I'm pretty happy with the neon cardstock I found at JoAnn Fabrics this summer to make up this beauty.
 
So, there she is-live and in living color. I hope you enjoyed the tour. I'll be back tomorrow with my revamp of a table D found on garbage day! Yes, my life is just that glamorous.
 
-L


Monday, August 19, 2013

Buffalo Chicken Goodness

Today was my first day with kiddos of the new school year. It was a great day! I'll be back tomorrow with some pictures of my classroom, which I have to say, I'm pretty proud of this year :)

We had a last minute family get together Saturday-nothing but good times, sunshine, delicious drinks, and lots of laughs. We always split the meal duties. Derek smoked some chicken and I made a few treats to munch on by the pool and this recipe was a huge hit! It is adapted from a food blog I follow, The Girl Who Ate Everything . I don't think you can ever go wrong with buffalo-chicken-anything and this is no exception!

I'm a firm believer you can cook anything in a wonton wrapper. They are so versatile! My talented friend Cali has a delicious wonton recipe on her blog that you should also check out to expand your wonton-repertoire :)

For this recipe, start by cooking up some chicken and shredding it. Set it aside for later use. Then, spray a mini-muffin tin with a non-stick spray. Start lining each muffin spot (what would each of those crevices called, anyways?) with one wonton wrapper. Just squish them on in there!


Mix one package of cream cheese, 3/4 cup cheddar cheese, 1/2 cup buffalo sauce/hot sauce, 1/2 cup ranch dressing, and the shredded chicken.
 
It's kiiiiind of going to look gross, but don't let it stop you! It's worth the ugliness, I promise. Once it's mixed, spoon filling in each wonton. Fill each about half full.


Once they're all filled, use 1/4 cup shredded cheddar over the top of the wontons. Let's be honest, 1/4 cup was not enough, I probably used more. Also, sprinkle blue cheese crumbles over each. So. delicious.
Cook in a 375 degree over for 10 minutes.
 
Creamy. Delicious. Buffalo-y. Oh my goodness. I can't get enough. I had extra filling and decided to throw it in a small serving dish, cover with cheddar and blue cheese, and bake it at 375 degrees for about 15 minutes. We use tortilla chips to scoop the goodness!
 
It is bananas how amazing these are! :)
 
-L


Thursday, August 8, 2013

Monogram #Obsessed

Summer is coming to an end. My heart breaks a little when I think about that. I don't know if it'll be harder to get up every morning and to go to bed at a decent hour each night. Either way, I'm not looking forward to the schedule, planning, and exhaustion that comes with the first few weeks of school. I am looking forward to a new bunch of kiddos and the laughs we'll have together though :)

Since I've had this summer with no work, I've been organizing and decorating our house as much as I can. I'm always so tired by the time I get home from work and have the best intentions of these home projects that end up getting thrown on the back burner in exchange for a glass of wine and some reality TV courtesy of Bravo. So, summer is the perfect time to get a few projects done!

I'm kind of obsessed with monograms. If I had my way, there would be various monograms in every room of our home. I've wanted to do something cutesy on our front door for awhile, but haven't had that stroke of genius I needed to get started. About a month ago, I received my Very Jane email first thing in the morning and was scrolling through the daily deals when I found this twine covered letter. Now, it probably would have been easier to spend the $12.99 plus shipping on this little nugget, but instead I thought, "I can totally make that!" So, off I went to JoAnn Fabrics and gathered my bounty of goodies to get started. I needed: an "M," twine, black ribbon, and some rustic looking flowers. After coupons and my teacher discount, I ended up out the door for less than $10!


Once you're situated, you just start wrapping. I'll be honest, it takes awhile. And it probably would have been much simpler if our last name started with an L or a T, but alas, M it is. I started with the two straight "legs" of the M, then moved onto the more challenging parts.
 
 
Use your hot glue gun to attach the end of the twine to your letter once you've sufficiently covered a portion. If you have wonky parts like the middle of the M, hot glue as you're wrapping to keep everything in place. It gets a little hairy if you don't :)
 
I attached the flowers with hot glue, as well.
 
Ta-da! Here she is, hanging on the front door!
 
 
Give this one a try for sure! It turned out adorable :)
 
L